| Click Here To Return To Solstice Photo Gallery or Click On Image To Start Slideshow | |||||
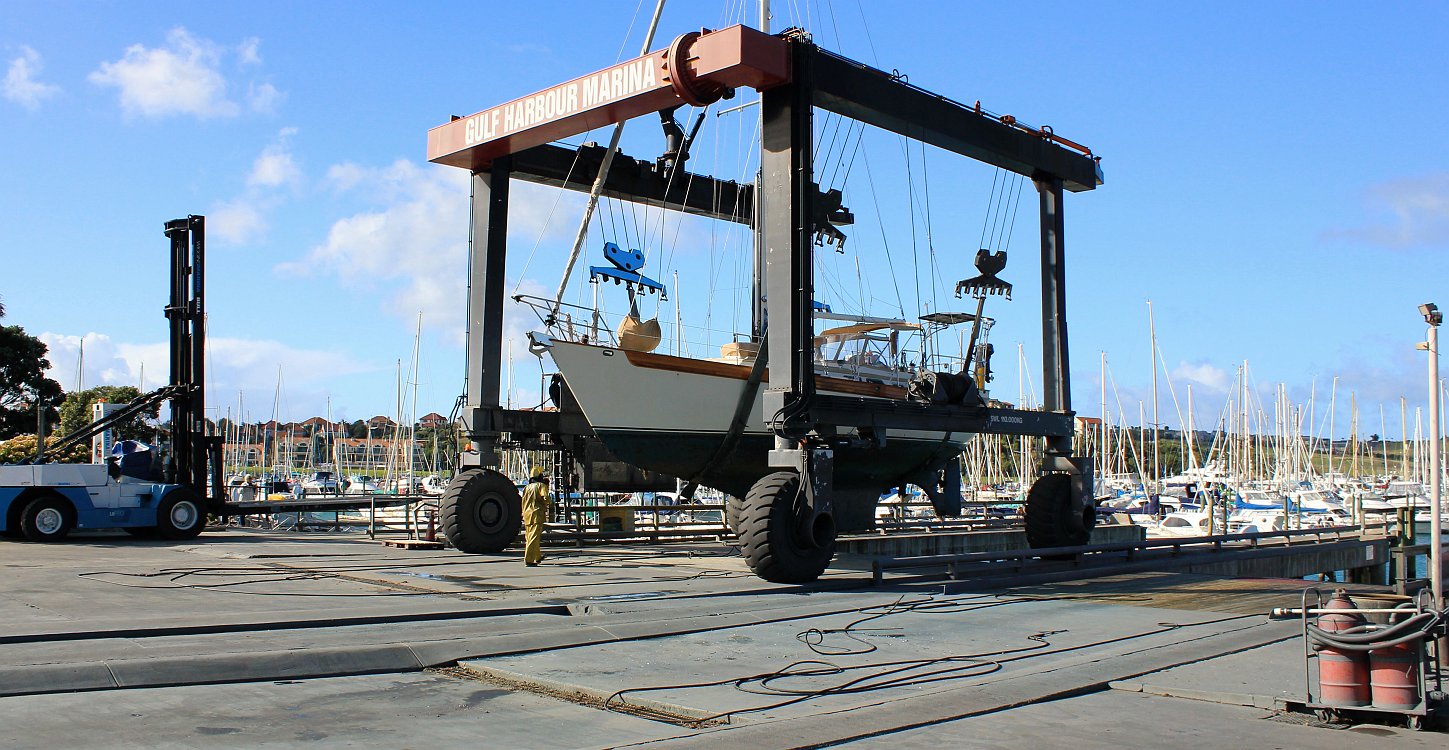
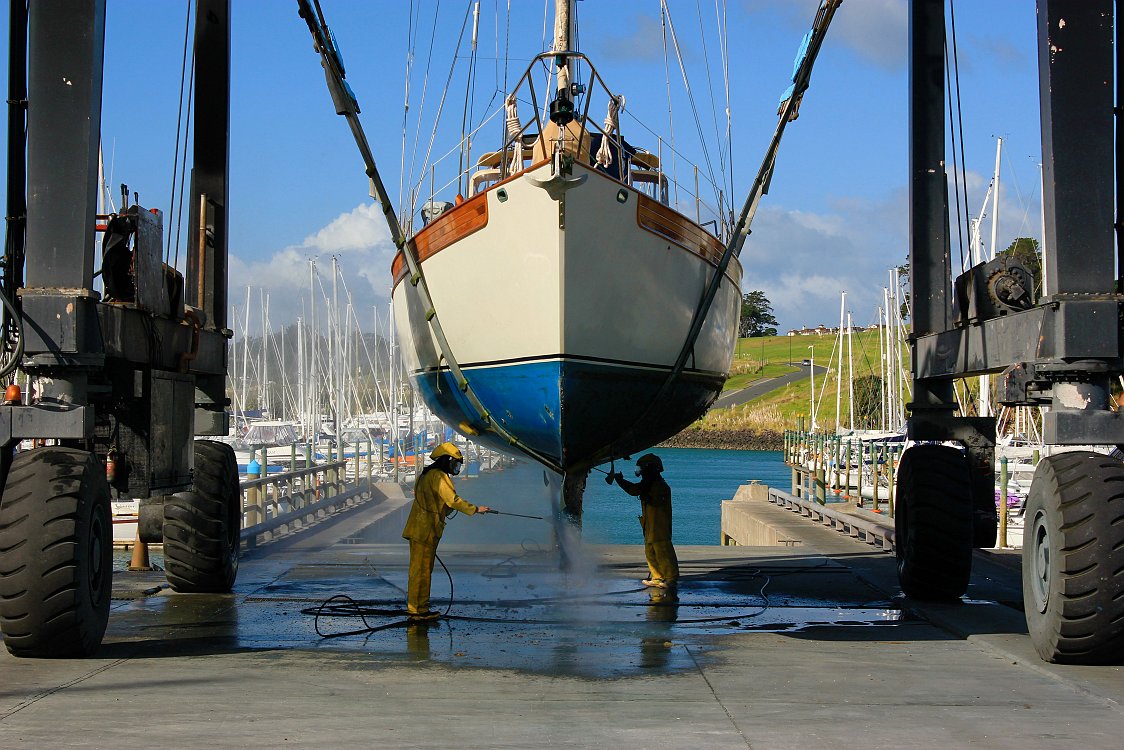
01_Solstice Haul for Bottom Cleaning
|
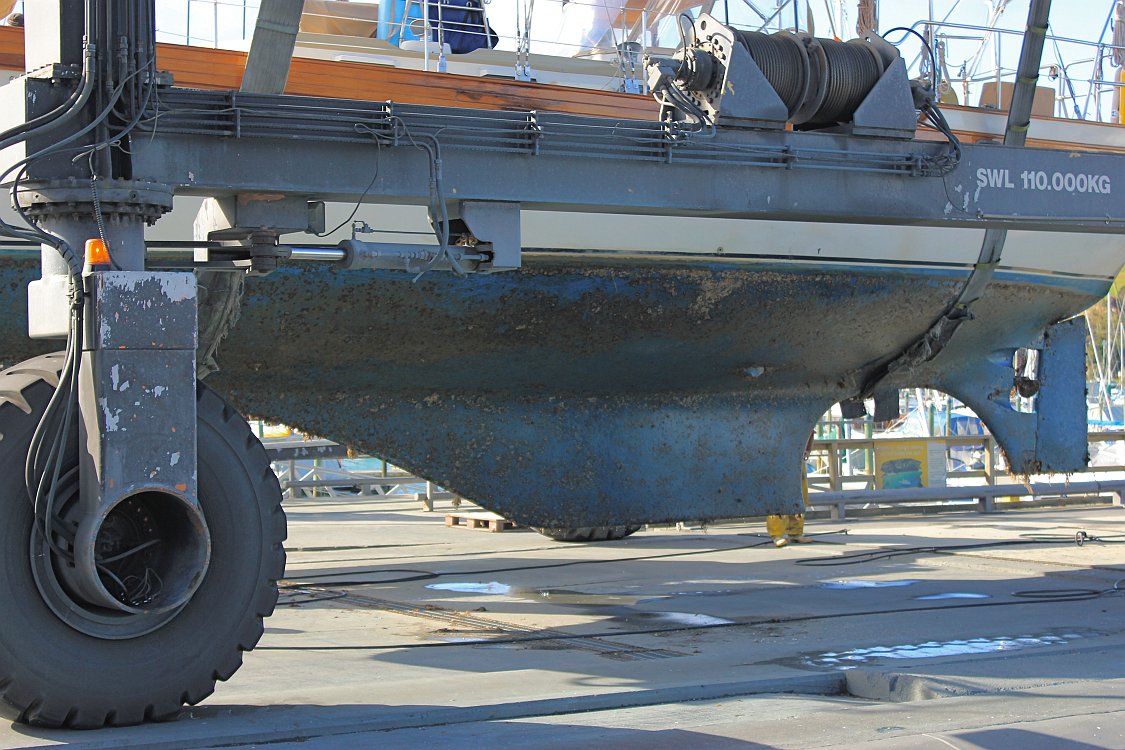
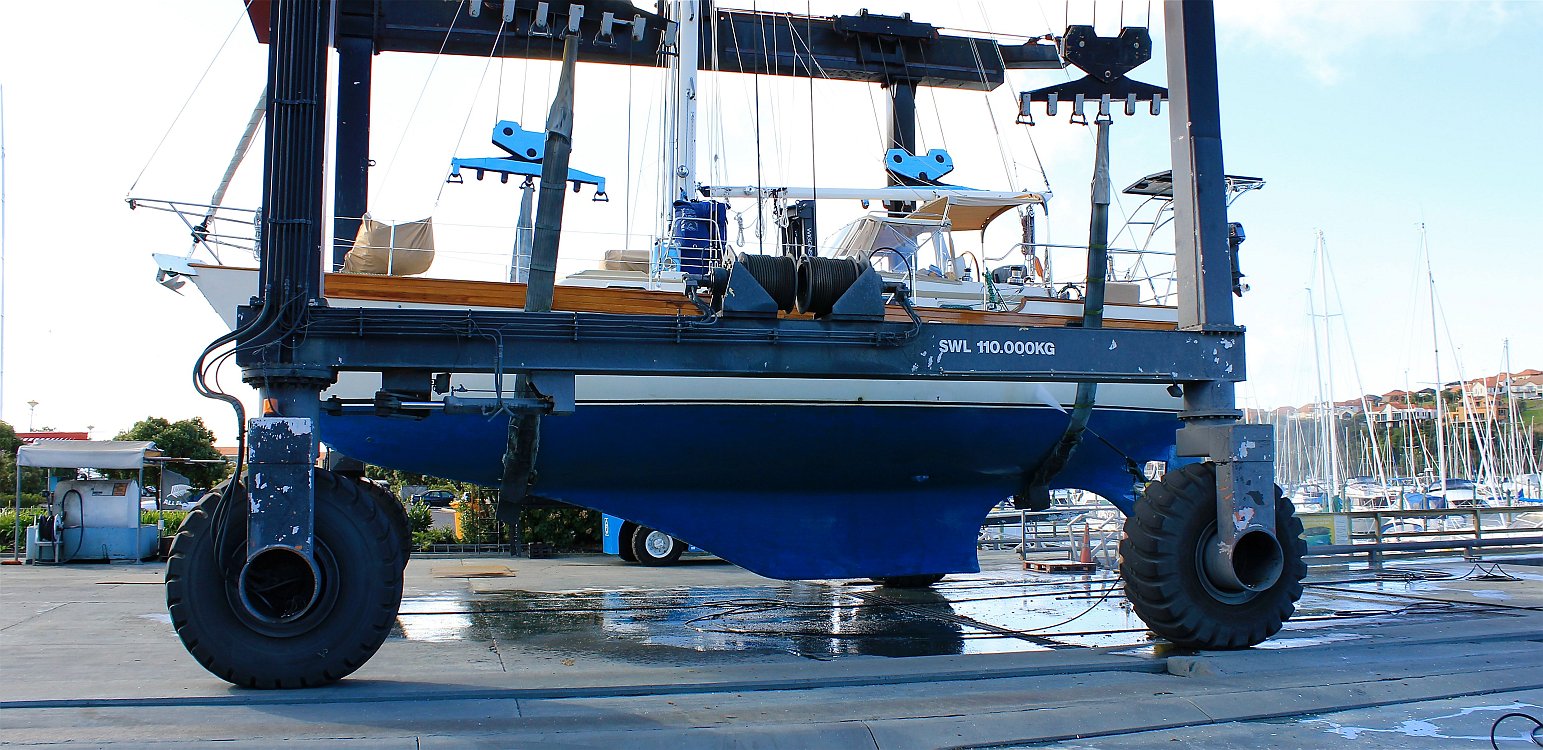
02_Solstice Dirty Bottom
|
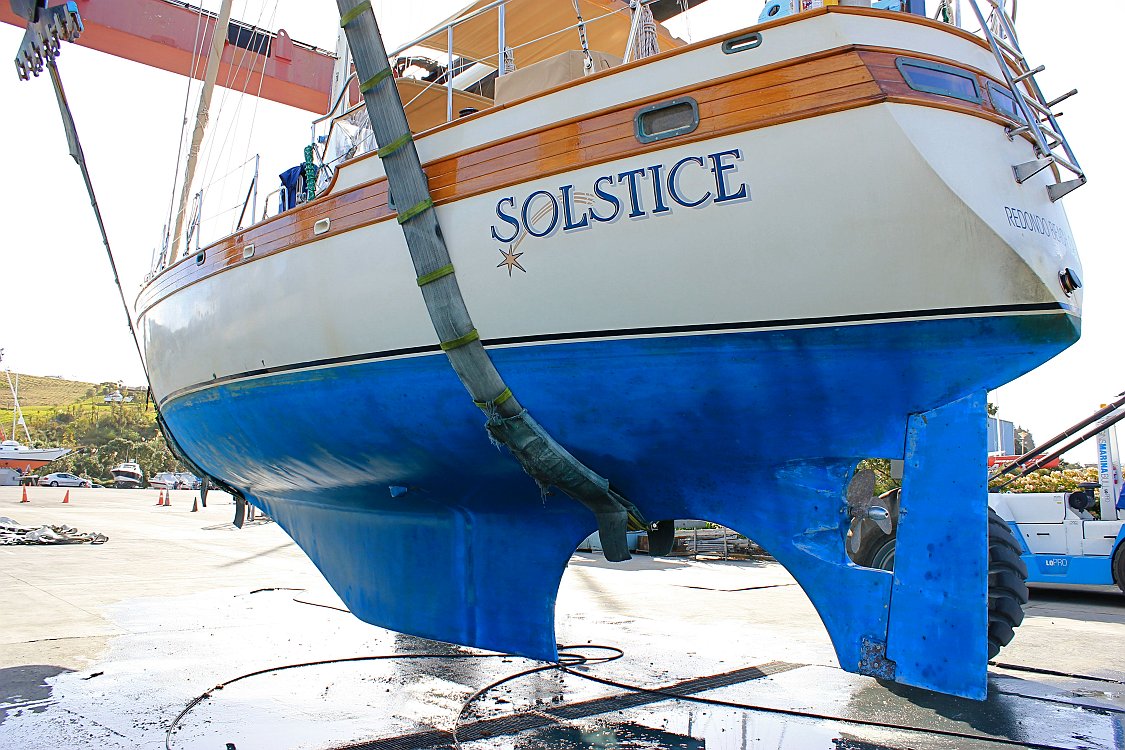
03_Solstice Bottom Clean
|
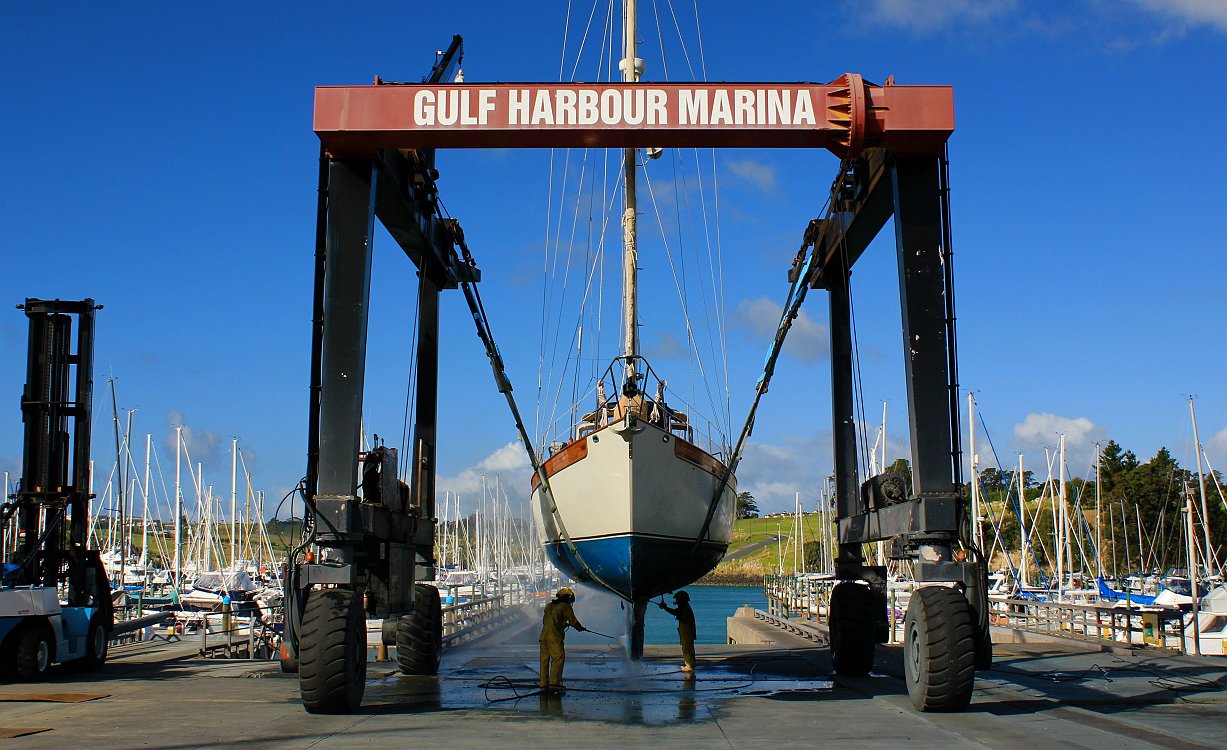
04_Solstice Bottom Clean
|
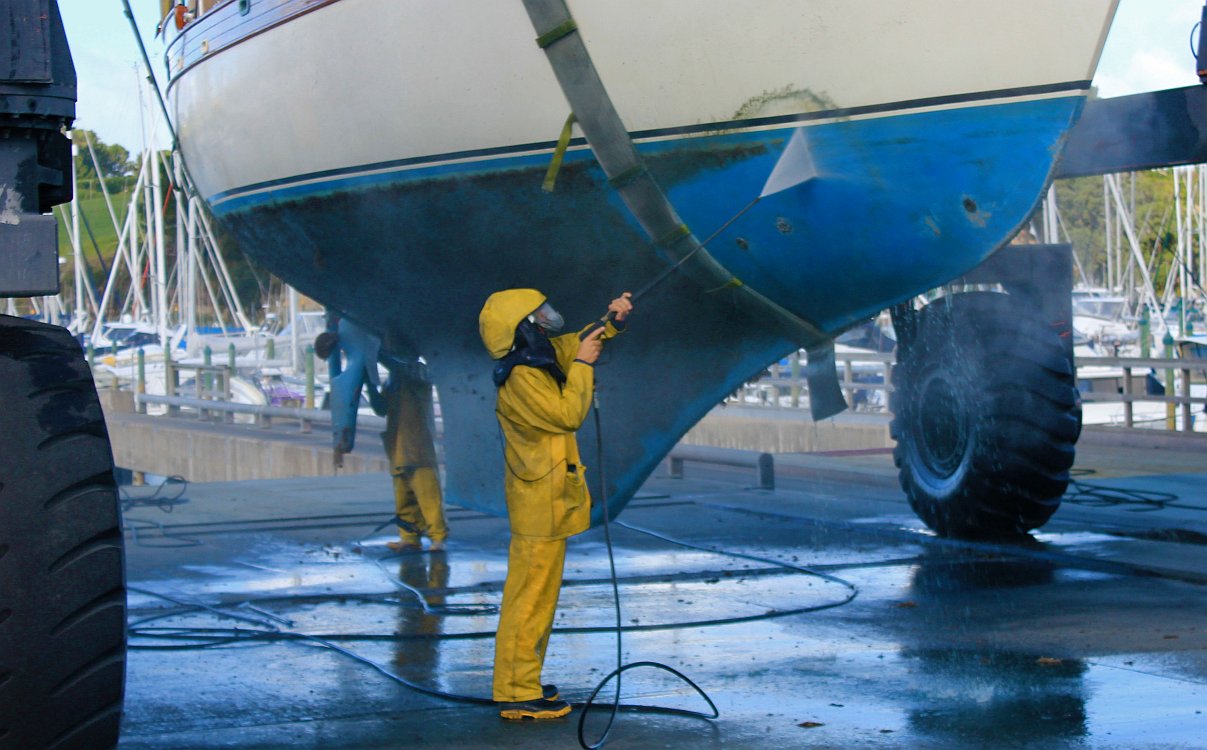
05_Solstice Bottom Cleaning
|
06_Solstice Clean Bottom
|
07_Solstice Bottom Ready For Passage
|
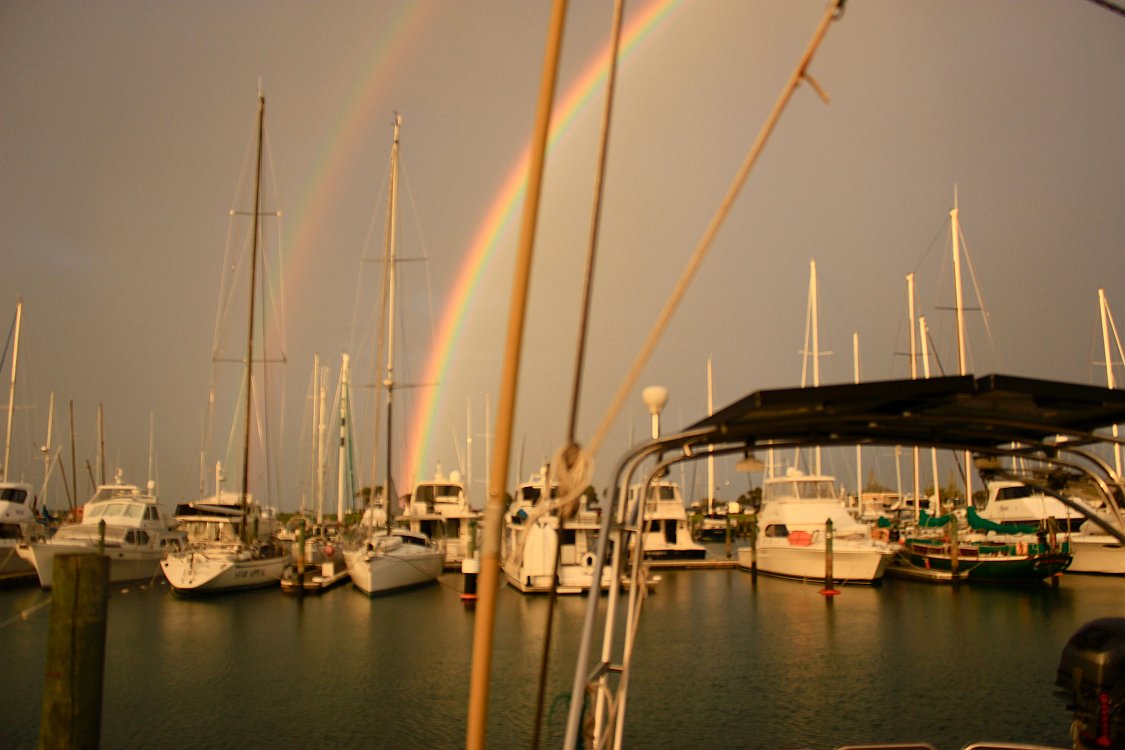
08_Gulf Harbour Double Rainbow before heading to Auckland
|
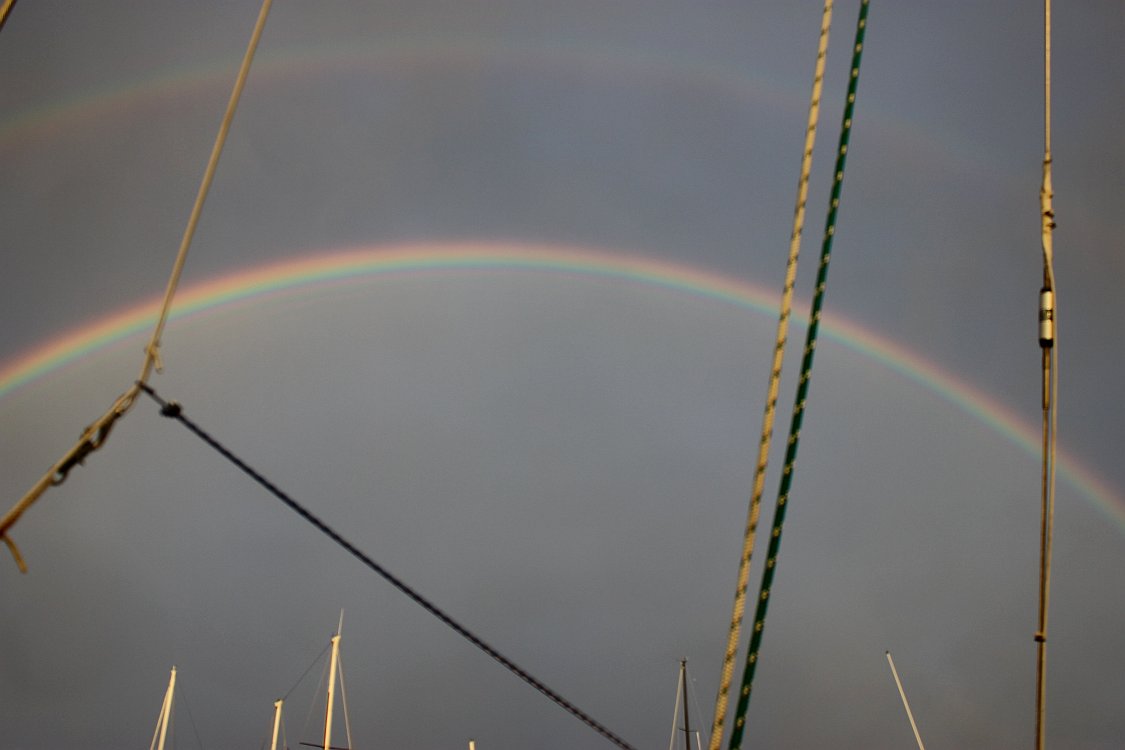
09_Pre Departure to Auckland Double Rainbow
|
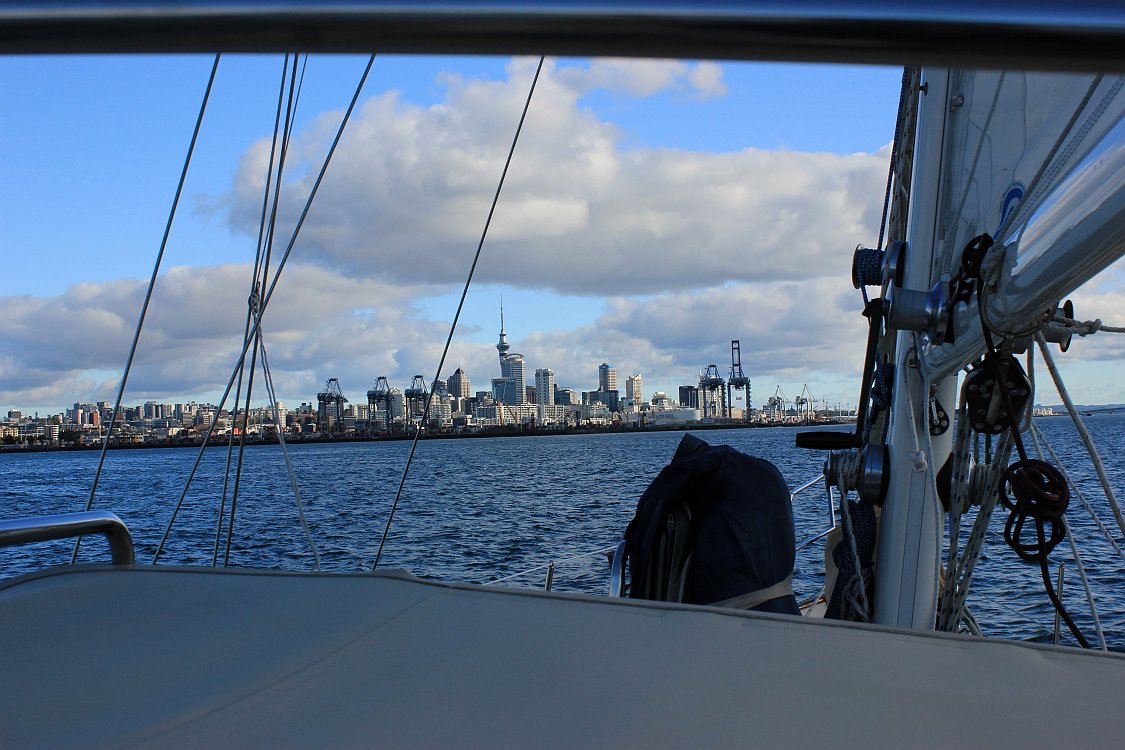
10_Off To Auckland
|
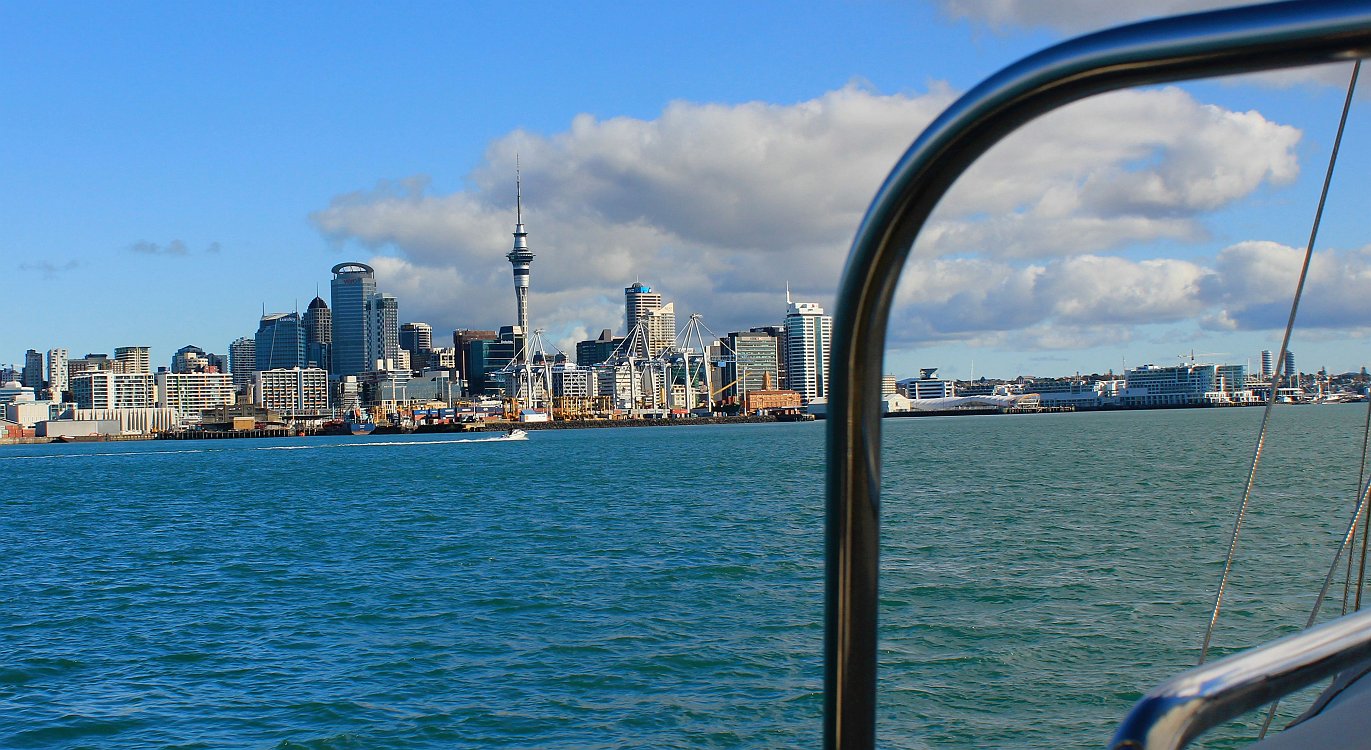
11_Auckland to Port
|
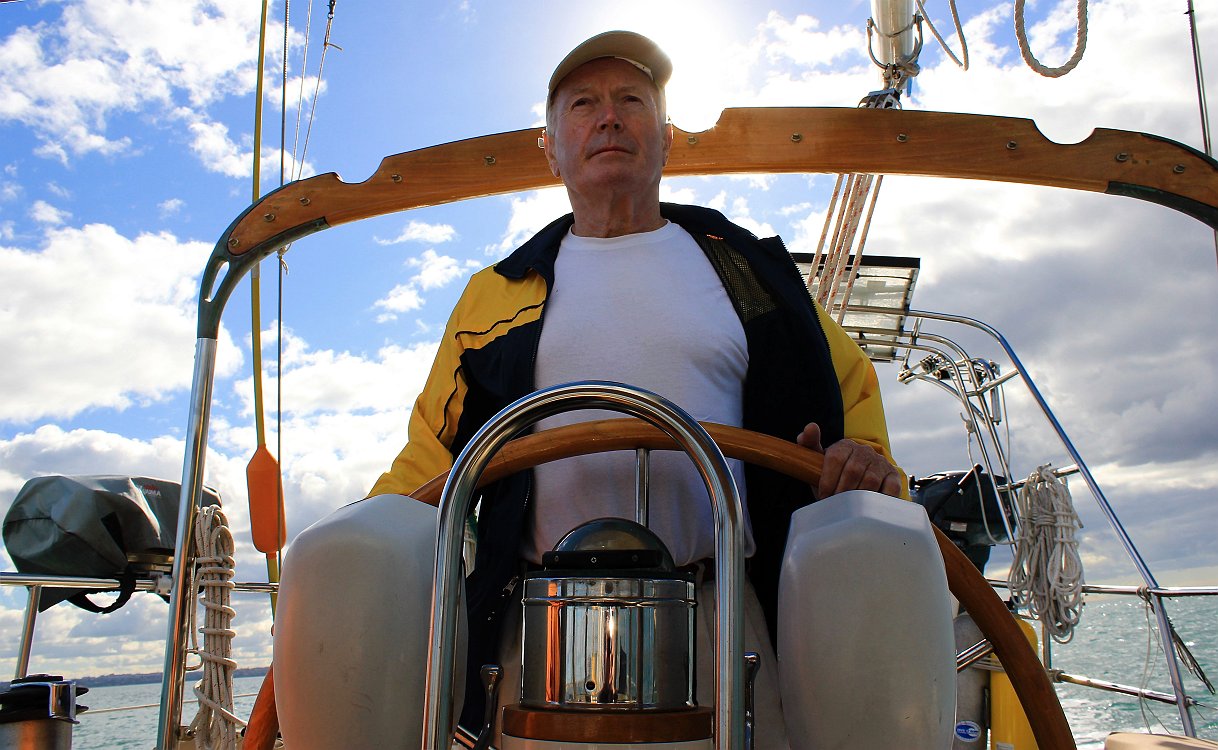
12_Tony Takes Us In
|
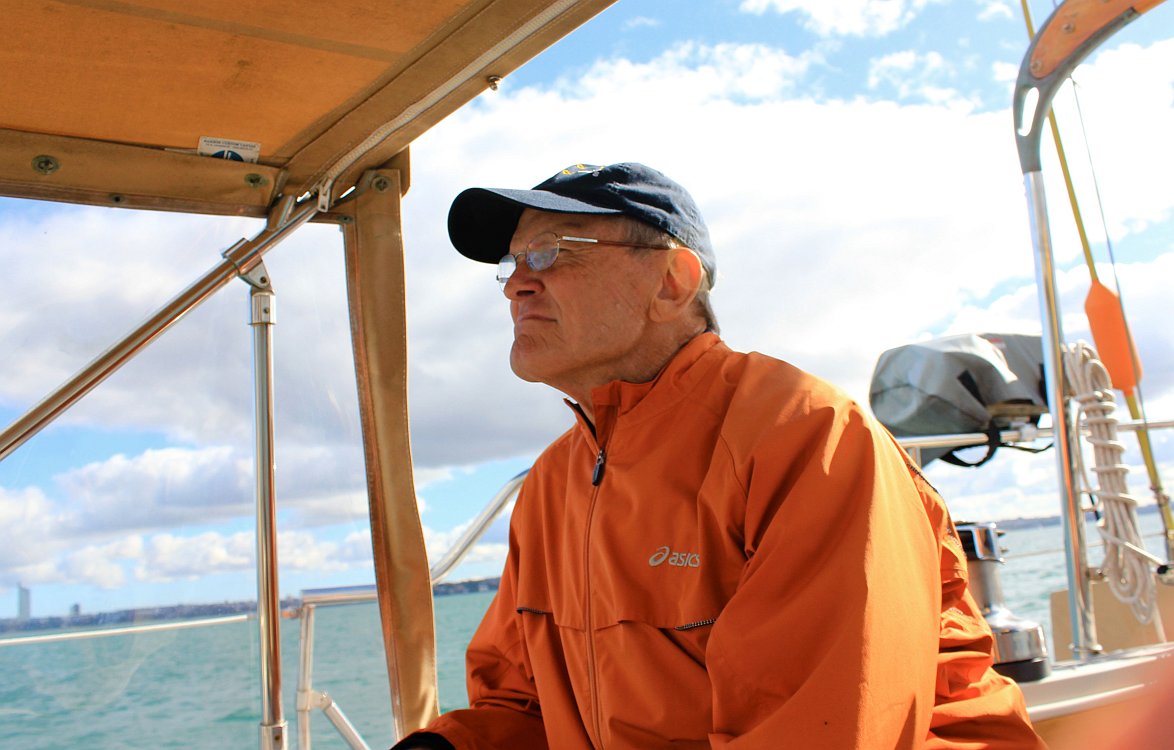
13_Captain Taylor Williams
|
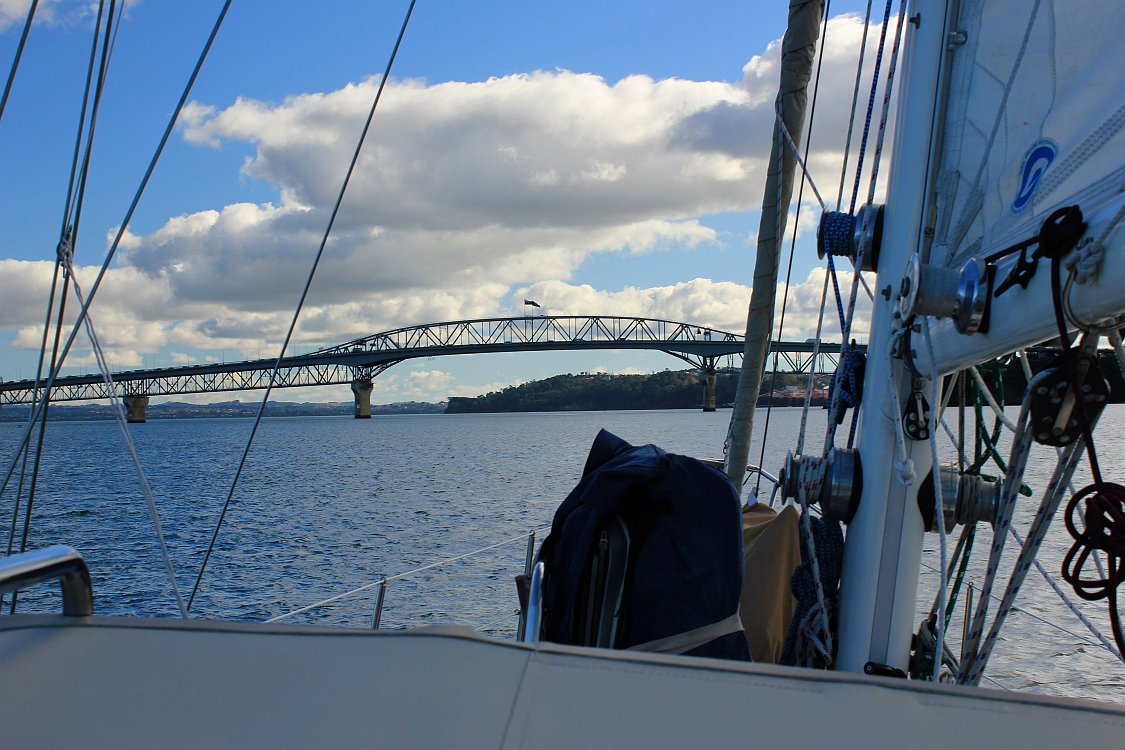
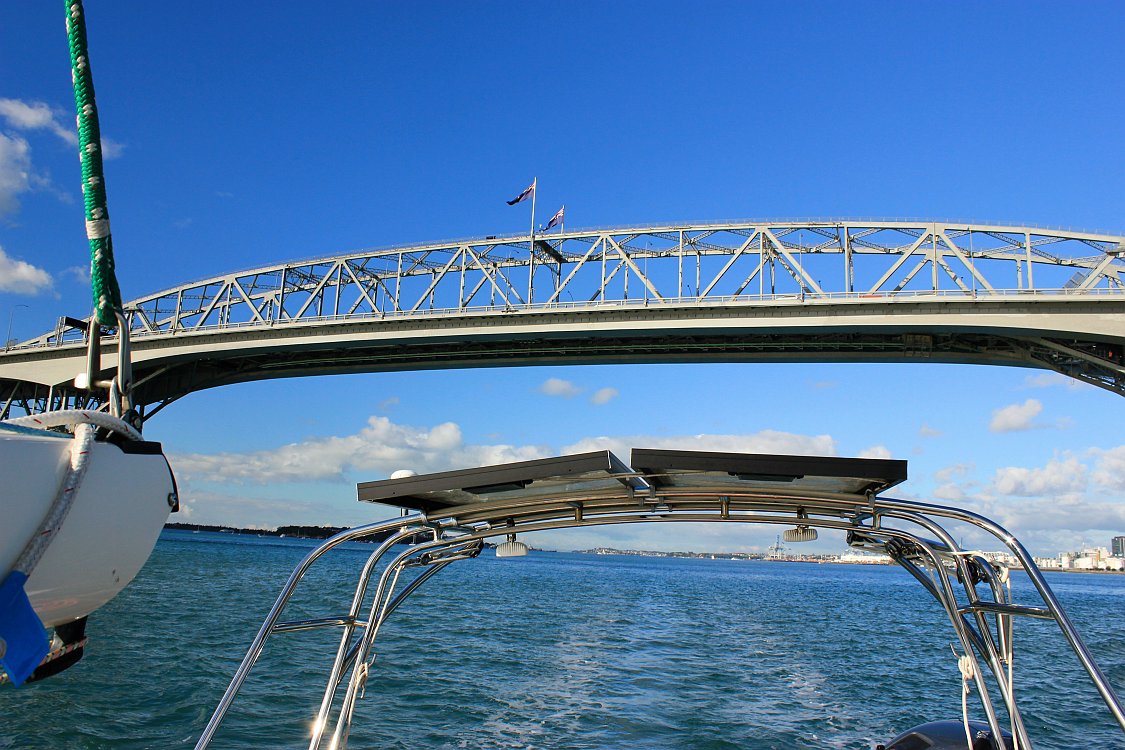
14_Auckland Harbour Bridge
|
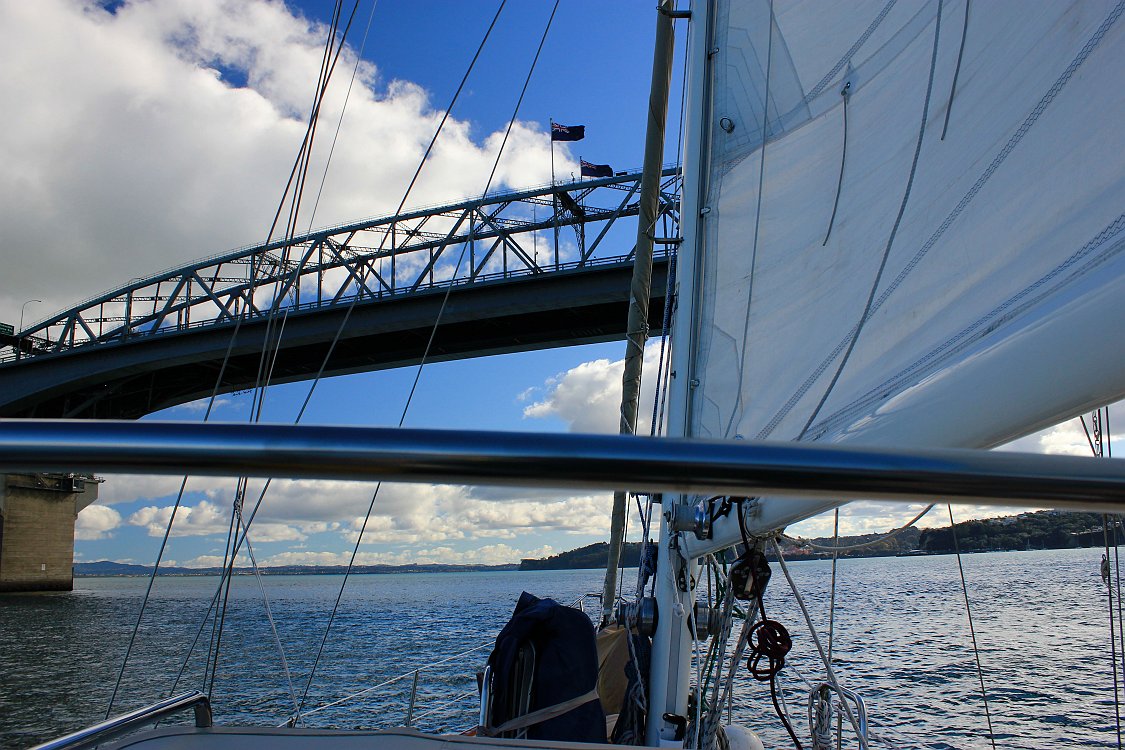
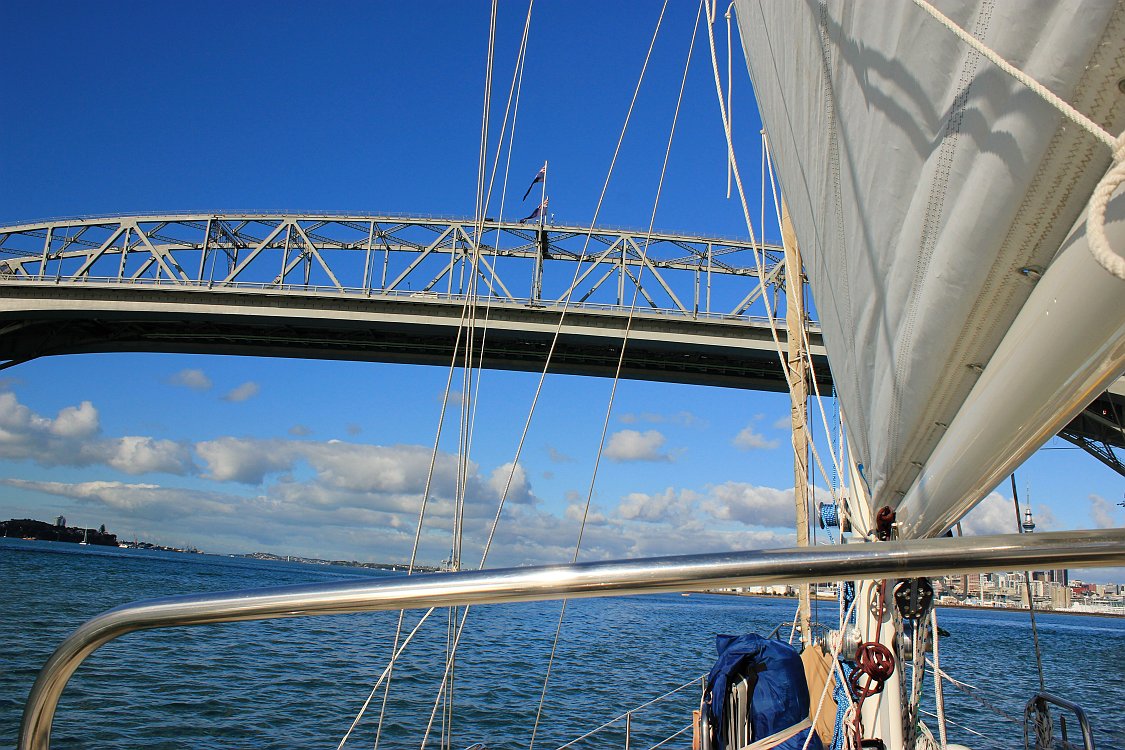
15_Headed Under Auckland Bridge
|
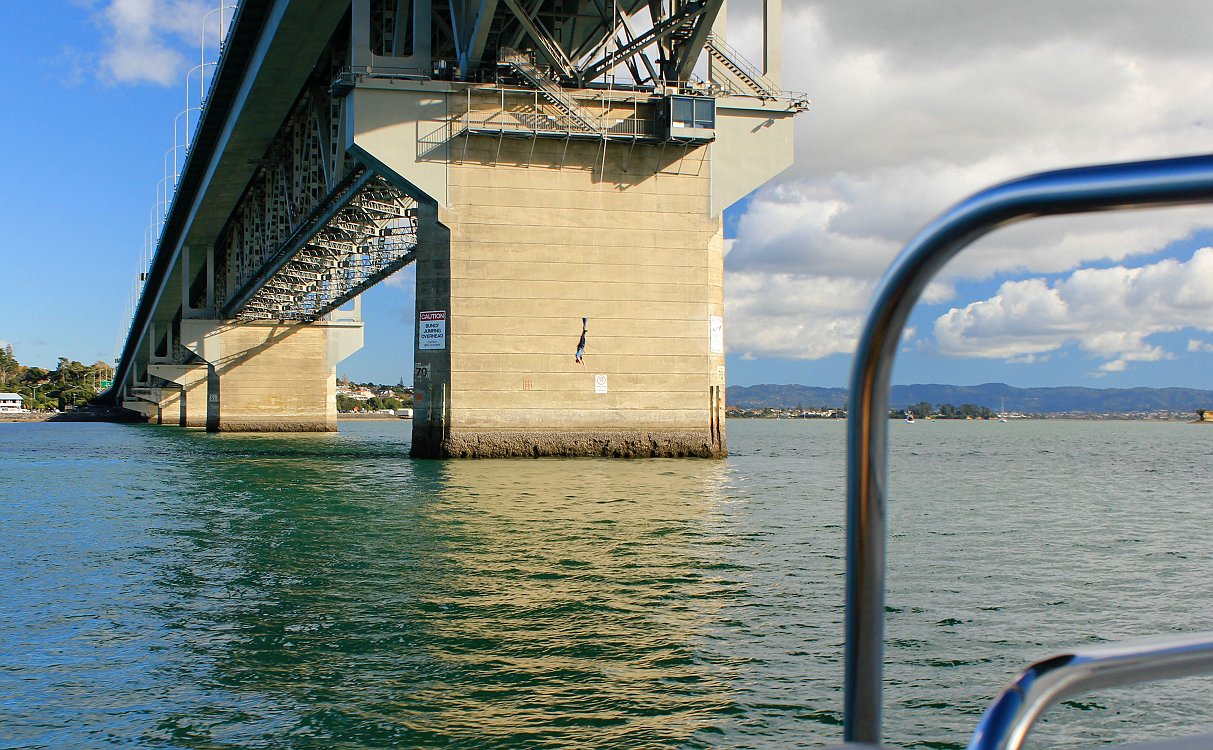
16_Bungee Jumper To Port
|

17_Under The Bridge
|
18_Bridge Astern
|
19_Back Out
|
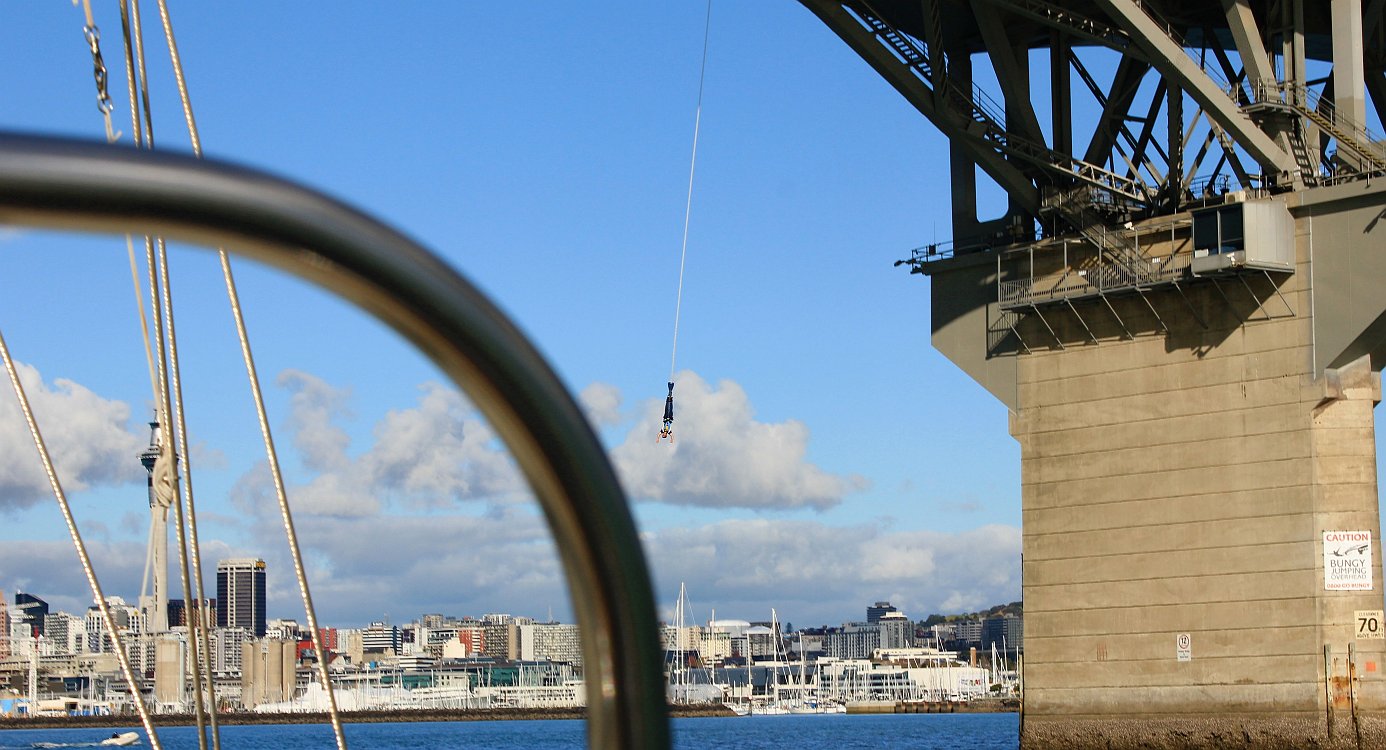
20_Bungee Jumper To Starboard
|
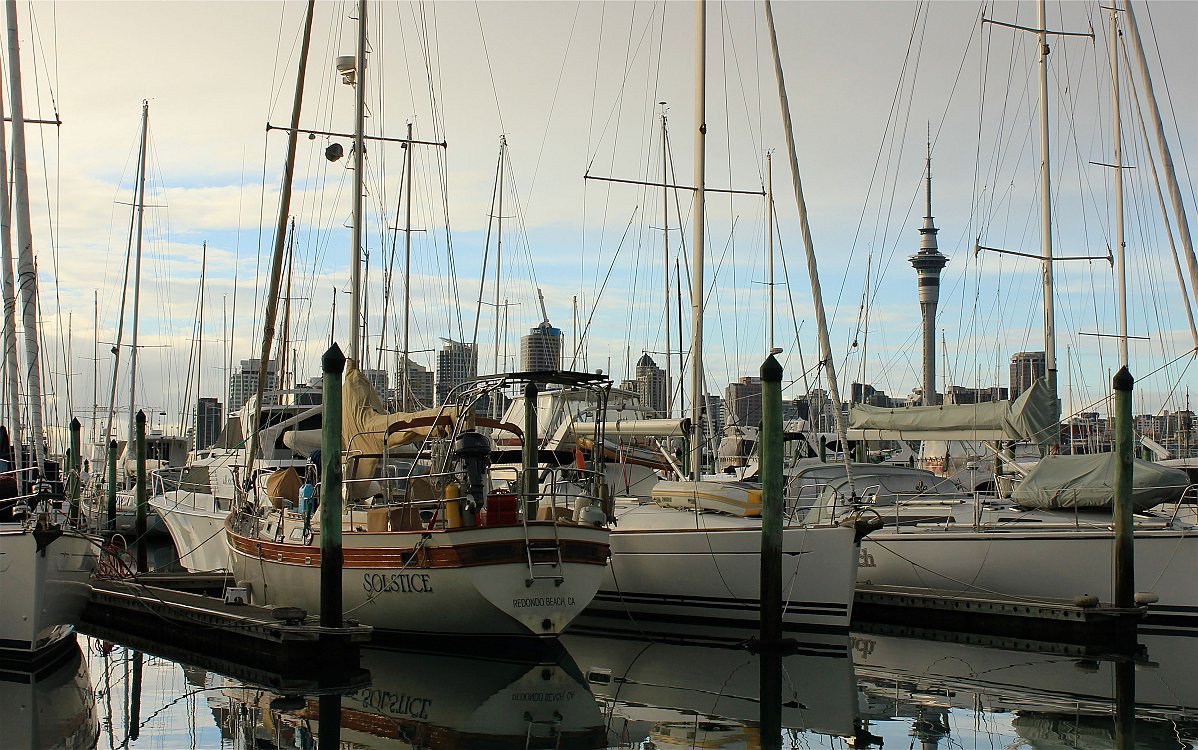
21_Awaiting Our Weather Window In Auckland
|